Building Kitchen Cabinets
- Janelle Payne

- Apr 19, 2020
- 3 min read
Updated: Mar 30, 2022
I wanted shaker style cabinets. We also have a budget and realize this is an investment property not our house. So I scoured Pinterest, Instagram, blogs and realized cabinet building sounds crazy but really it is just a box. I am mean a fancy version of a box. Okay I am not here to say cabinet builders are not the bees knees but if you want to make a relatively inexpensive not to fancy cabinet it can easily be done! One thing you must have is a Kreg-jig (pocket holes are necessary!) If you are into DIY this is a great investment! I got mine off Amazon and I have never regretted it! In fact you will find yourself doing more projects because you have it. With that being said it is very helpful to have a table saw and miter saw. Home Depot or Lowes will rip down plywood for you but they usually will not do "project cuts" so at least a miter saw or skill saw will be necessary, along with clamps, since sadly our species do not have 10 hands.

I followed the tutorial from Ana White and did modifications for my space. I made the following:
2- 36" corner cabinets
1- 10" side cabinet
1- 27" sink base cabinet
1- 29" cabinet
1- 10" tall base cabinet drawer for our mini fridge to stand on to appear larger.
For all of the cabinets other that were not corners I followed this tutorial, modifying dimensions for each that I needed.
Design with Ease
Just start. One cabinet at a time, before you know it, it will be done.
I did 1x2 face frames on all cabinets and all the bases were made with simple 2x4s which I covered with one cohesive piece of underlayment as kick boards once they were all installed and leveled with shims. All of the body of the cabinets were made with MDF 4'x8' sheets ripped down to a standard 22 3/4" wide to give a standard counter depth when finished. Without the countertops the finished products were all 34 1/2" so that with my butcher block counter tops from Ikea they would equal 36" tall.
These were my inspiration pictures for the kitchen. Left from Ikea and the right from aesthetecurator.com


Building the cabinets
I started with my MDF sheets to make my "shells" I took Ana Whites plan and adjusted the measurements in photoshop just to have the visual. I am a visual person, I have to see it for things to make sense.

I had a beam coming up in each corner of the kitchen that I had to account for and take a piece out of the backs of those 2 cabinets. These sketches show that.

Next the face frame. Simple 1x2's attached with 1 1/4" screw pocket holes and wood glue.

my mock up below for the sink base.

I did this for each cabinet.
29" cabinet with drawer

Handsome hubby with baby Rex on a 36" corner cabinet with the 29" cabinet

Opposite side 36" cabinet


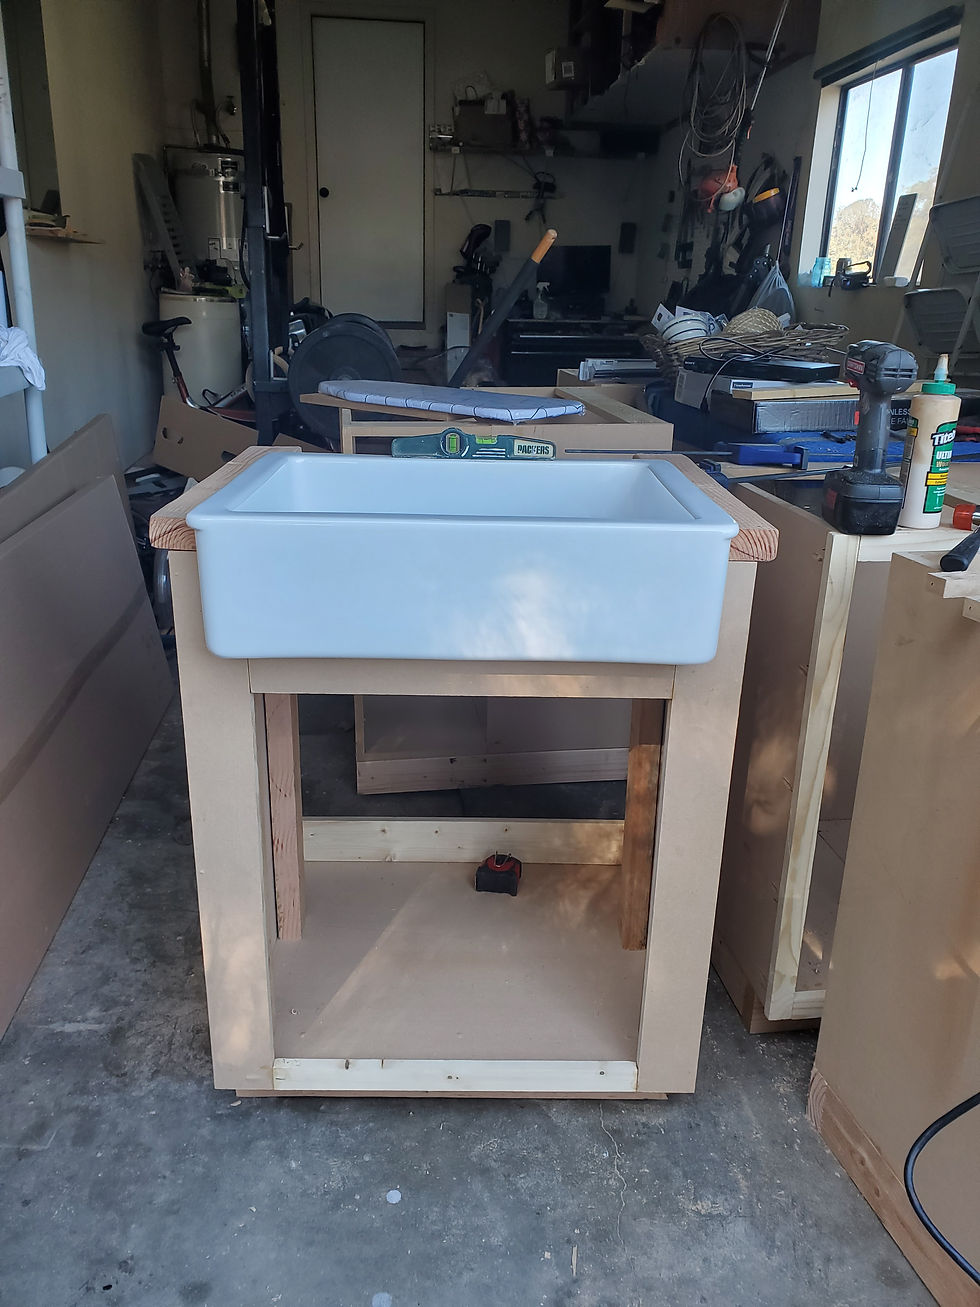
27" farmhouse sink base cabinet
10" tall refrigerator base drawer cabinet

Once they were are built, I filled all holes and sanded smooth, with a 150 grit and than a 220.
Next I built all of the cabinet doors from this tutorial. This was done with 1/2" plywood for the centers and 1x3 pieces of wood. All combined with pocket holes and wood glue. For the drawers this is a great guide for that.
I taped them off because I wanted natural wood color on the inside and primed everything with Zinsser Primer followed by Black paint by by Behr.


It was a crammed, hot mess in our garage for awhile but they were done! Lastly I used Varathane triple thick polyurethane as the top coat. Once everything was dry I used the Kreg concealed hinge Jig to make the holes for the hinges. I used 1 1/4" soft close hinges I found off Amazon and spray painted them black to blend in. I also bought gold bar pulls for the cabinets and drawers a mix of 10" long and 6 1/4" long.
All in all, it was a great experience, that thankfully and to be honest surprisingly turned out to work! Measurements and all they fit in the space!


Janelle


Comments