Rustic Modern Desk
- Janelle Payne

- Jan 23, 2023
- 4 min read

The desk in our studio office at home needed to be very unique since it was going to need to fit perfectly between our stairs and even with the back of our pot belly stove. I searched for a second hand desk that I could customize but could not find anything that fit the look of the room.
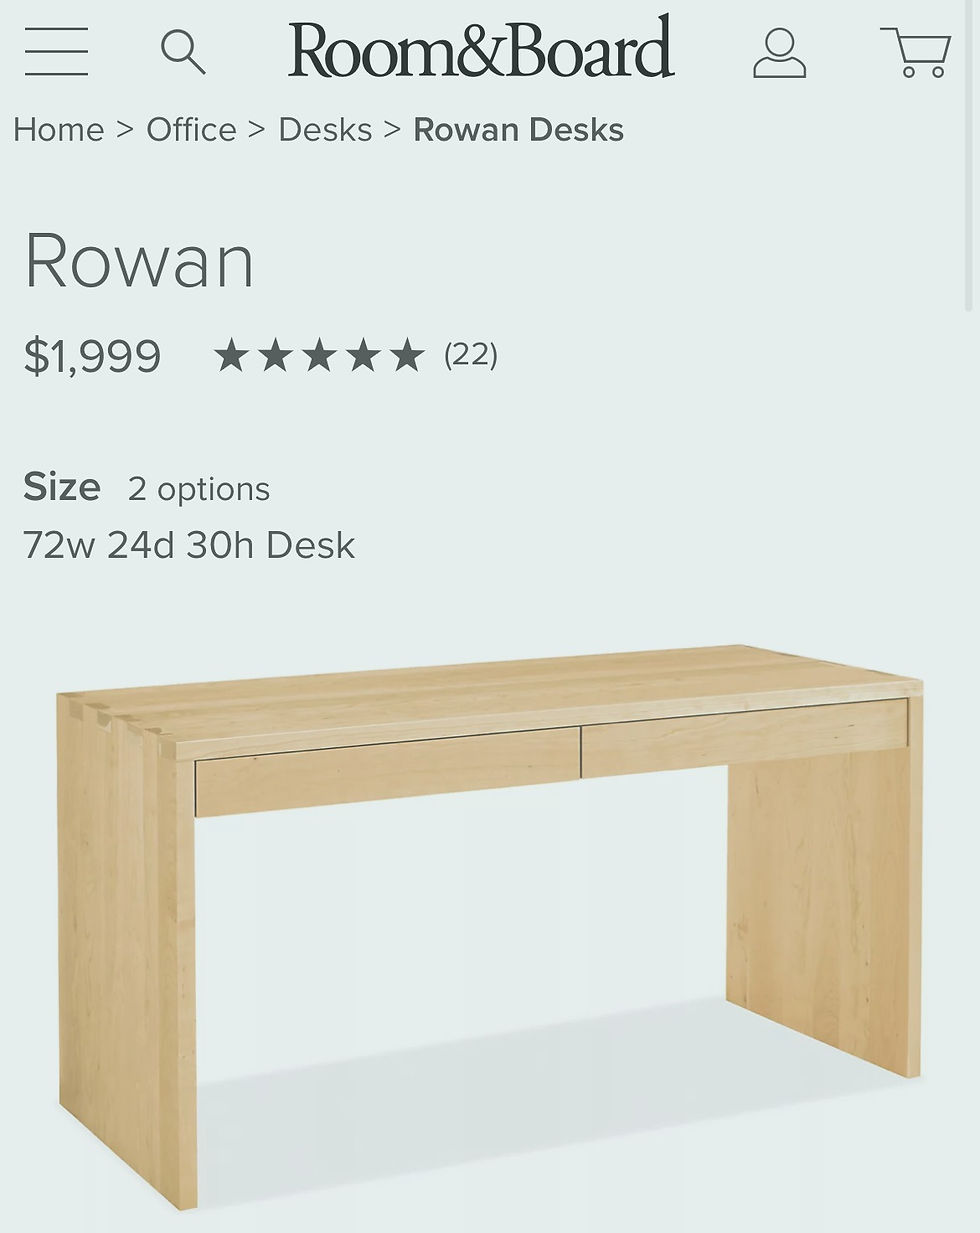
I stumbled upon this desk from Room & Board and knew it was the exact modern look I was going for but with a hefty price tag! In true "me" fashion I chose to build it!
Supplies Needed:
2- 12 foot 2x12's
1- 6 foot 2x6
1- 6 foot 2x12
1- 8 foot 2x4
2- 6 foot 1x4's
1/4 sheet of 1/2" plywood
wood filler
sander with 60, 120 and 220 grit
Stain or paint
Polyurethane
desk knobs/hardware
tape measure and a level
Step 1: Make your cuts
Depending on the size you want your desk these measurements could be altered but for this project I wanted a 4ft wide desk. I started by cutting my top pieces.
Using the 12 foot 2x12's I made 45 degree cuts on the ends and cut the following:
- two 48" long with 45 degree cuts on either side (will be used for the top of the desk)
- four 24" long with 45 degree cuts on only one side. (will be used for the sides of the desk)
- Add pocket holes to one side of a 48" piece and one side of two of the 24" pieces.

You will join the two top pieces together with wood glue and kreg screws. Repeat this process for both side legs using two of the 24" pieces for each leg. Clamps are very useful here to get a tight seam.
Step 2: Assemble
Now that the main pieces are made, it is time to assemble! It is handy to have a triangle to make sure that you secure the pieces together at a 90 degree angle. Lay them on their sides to create the "U" shaped desk and secure together with wood glue and 3" screws. Fill the holes and corner seams with wood filler.

Step 3: Supports
At this point the structure is a little wobbly so you want to add some supports. I cut a 2x4 the same length as the inner width of my desktop and attached it between the two legs about 1" up from the bottom at the back. This will ensure the structure will stay square.

After that support is secured you are able to stand it upright and this is where I took the 6 foot 2x12 and cut it to fit between the legs at 46.5". This piece will be the bottom framing for the drawer opening.

Step 4: Build the drawer
Next is to build the drawer itself. I wanted one really wide deep drawer and since the drawer height opening was 3.75" tall, it worked out perfectly to use 1x4's (actual dimension is 3/4" by 3.5") to create the drawer frame. I made the drawer frame dimensions to be 19" deep and the width 1" smaller than the opening to accommodate the drawer slides so in this case 46.5" wide. I cut the following:
- two 19" pieces
- two 45.75"
Secure these pieces together with the shorter boards being on the outside so that the seam will be in the front and back of the drawer. I used a dado blade across my pieces to create a lip that fit my plywood piece for the bottom of the drawer perfectly. If you don't have a table saw or router to do this you can simply cut your bottom plywood piece the exact size of your drawer and secure it with wood glue and brad nails.

Step 4: Install drawer front & Slides
Using the last 2x4 cut a piece the length of the drawer leaving approximately an 1/8" on either side. Secure this piece to the front portion of the desk with screws from the inside of the drawer.


At this point I actually sanded everything down before installing the slides and drawer. I started with 60 grit to shape, then 120 grit and finished off with 220 grit. After wiping it clean with a tack cloth I installed the slides.
Next install the slides per the instructions that come with the ones you choose.
Step 5: Stain or paint
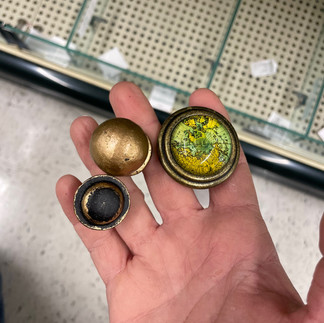
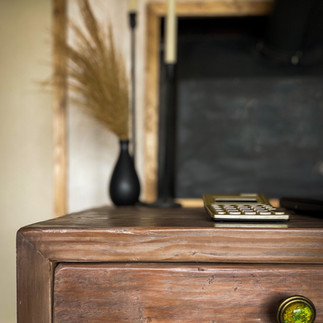
I wanted to keep the wood look so I chose to stain the entire desk. First I white washed everything first followed by Special Walnut from Minwax. Lastly I added a Polyurethane protective coating and these two knobs I found at Hobby Lobby.
As you can see in the picture below I needed to add a 2x6 section on either side of my desk to fill the opening next to the back of our pot belly stove.


I purposely left small 4" openings between the stairs and the desk. I wanted to add greenery and uplighting and strip lights here. I found these box shrubs at Hobby Lobby that fit perfectly in these sections and added this uplighting from Amazon to give this look!


Like always you can check out my Instagram Highlight showing the process of me building this desk!


Comments