Faux Beams
- Janelle Payne

- Oct 4, 2022
- 2 min read

This seams like a difficult task but this is really very beginner friendly! Super simple build that just requires accurate measurements.
Step 1: Measure


First plan out how many beams you will want and make sure studs run across those areas so they can safely be secured. Next get the length. Normally this would be pretty simple but since I was working on an angled ceiling I had to figure my angles out (not my strong suit). Most would use an angle finder but I still don't have one so I guesstimated the angle and used scrap wood until I got it right! I had a 20• on one side and 22.5• on the other. Once those were figured out I measured the entire length and cut my three boards for each beam accordingly. For each beam you will need a 1x8 and two 1x4s, although this can be customized depending on your desired look.
Step 2: Assemble!


Take your 1x4 and run a bead of wood glue along the edge length wise and place on top of the 1x8 like the pictures above. Clamp together so the 1x4 is flush with the edge of the 1x8 and secure with 1.5" brad nails. Repeat this on the other side of the 1x8 with the other 1x4 you cut to length. Let these dry at least a couple hours before the next steps.
Step 3: Beautify!

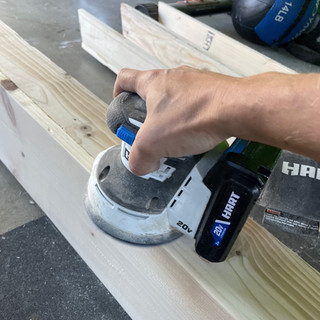


Fill holes with wood filler and then sand the entire beam with 120 grit to round all edges and create character if desired. Next follow it up with 220 grit to give it a smooth finish. After wipe clean with a tack cloth and stain. I went with my favorite combo, Minwax Simply White first to cancel out the yellow found in pine, followed up with Minwax Special Walnut.
Step 4: Supports


Once the beams are built you then have to attach supports to the ceiling so that the beams can be secured to them. If using the same dimensions of wood as me, you will need to cut a 2x4 into a bunch of 5.75" pieces which will fit between the 1x4s on each beam. (The amount needed will vary depending on the length of your beams) You want to have one approximately every 2ft. These will be secured directly to the ceiling in a straight line so that the beams can slide over them. Measure the center of where you want your beam and draw a line, secure the 2x4s into studs with 2" screws along that mark. I made a small beam to help show this.
Step 5: Secure

Unless you are Hercules you might want to ask for another hand to help with this next step. Take your beam and place it over your 2x4 supports and brad nail the side of the beam to each 2x4 support from both sides. (*pro tip: use frog tape to mark on the ceiling where each support is before covering them up so you know where to nail!)

That's it! A pretty simple DIY that will have a major impact on your room, not to mention the total cost for this project was $100!


Comments