DIY Slide Out Bed Bench Seat!
- Janelle Payne

- Mar 22, 2022
- 3 min read
When we were deciding on a layout for the van, we needed a multi functional area where our boys could sleep and safely sit while traveling. I came up with a bench seat that can pull out into a bed!

After doing some research I came up with a plan! We decided to create a long bench on the passenger side of the van where car seat clips could be easily added directly to the metal frame, allowing our two little passengers to safely travel. That same area would be able to pullout into a twin bed for them to sleep comfortably!
I started out by getting these carseat clips. We bolted them directly to the van frame where we wanted the boys to sit. Depending on the height you choose for your bench (standard is 18-20") you want to attach these 1" above the bottom of the finished bench top. Our bench seat was 19" tall so we measured 20" up from the ground and mounted them. We brought our car seats in to see how much room we wanted between the two mounts. All of this is totally customizable when doing this yourself!

After the mounts were in, I began building my frame using 2x2's. I made the front part of my frame have 3 openings and duplicated that portion exactly for an additional frame that would be the "pull-out" portion of the bed.
Single frame Double front frame front one will pull out


After I had the basic frame built, I quickly installed my flooring before attaching it directly to the floor and van walls.

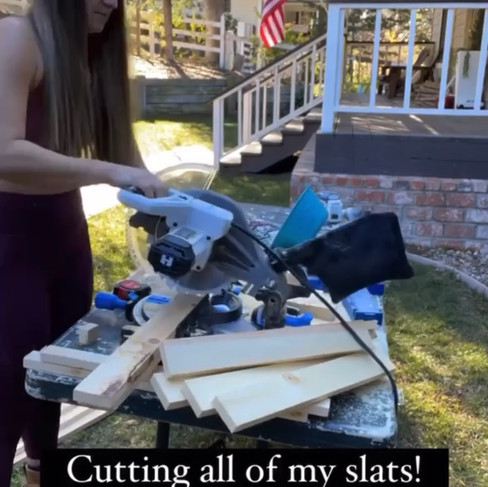
Next I started on the slats for the top bench part. I cut a ton of 18.5" 1x3's that I would evenly space across the top of my bench seat.


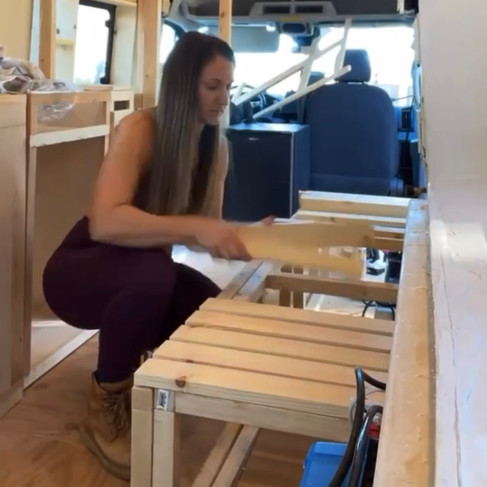
I then attached a total of 4 1x2's the length of the bench, 73" and had two on one side and two on the other. From here I laid all of the slats across these leaving about a 1/4" gap (I eyeballed the gap!)
This is a picture of the bench seat flipped upside down. You can see the 1x2's on the bottom seen here, two on each side.

The slats get attached to these 1x2's and you attach every other slat to each 1x2, in a "zigzag" look as seen below.


Be sure not to tighten the screws too much otherwise it will compress the wood not allowing them to slide smooth! After this is assembled I always like to test the fit! Make sure it can slide under the car seat mounts and the depth is correct!


One problem I found when testing it out was that the slats would get stuck on each other right before they closed. So I used a router and rounded all of the edges of the slats that needed to slide on top of the outside frames. This can be done with a very low grit sandpaper (30 grit) if you don't have a router! Shown below.
They were getting stuck here. Rounded to slide.


From here you want to secure the slats to the frame. You attach at the two outside 1x2's through the slat that doesn't move down to the frame.

At this point you want to white wash (or paint) and seal the slats. Next, I enclosed the frame with 1/2" birch plywood, I opted to paint this portion Soft Fern from Benjamin Moore to match the cabinets.

After that is all secured, it was time to search for a bench seat cover and let me tell you they are expensive!! BUT, I searched and searched and found this company called Covers & All and they are such an amazing find!! This website lets you completely customize covers for a variety of things and any dimension you want! The only downfall (not really to me) is they only have a few colors to choose from but they are all very neutral and versatile. They come with many options and the quality is amazing!! I chose the "light sand" option and it is waterproof, lightweight, tear & abrasion resistant, and UV resistant! The price point is what got me! For a 73" long, 19.5" wide bench seat that can hold a 4" thick foam it cost me $58.86 which is hundreds of dollars cheaper than anywhere else I found! Once I received it and saw the quality I quickly order my two back pieces that cost me $37.71 for both!!

These are so perfect for the van, easily removed to clean and very durable!!! All in all I love our bench seat and it provides us with storage underneath! So many uses for this area!


I didn't think I would be making a blog post when I started this build so I apologize for the poor picture quality! If you want more videos of this process you can always go to my IG where I have this build saved to a highlight bubble here!


Comments